Although most organisations use a learning management system (LMS) to share courses with their learners, we’re often asked how you can upload Articulate Storyline courses to a website.
In this blog, we’re going to walk you through the four-step process you need to follow to upload your course.
We should note however, that uploading your course to a website won’t give you the same tracking or reporting features you would get from an LMS.
Step 1: Prepare to publish your Articulate Storyline course for the web
Open your file within storyline and select Publish from the Home tab.
When the Publish window appears, click the Web tab.
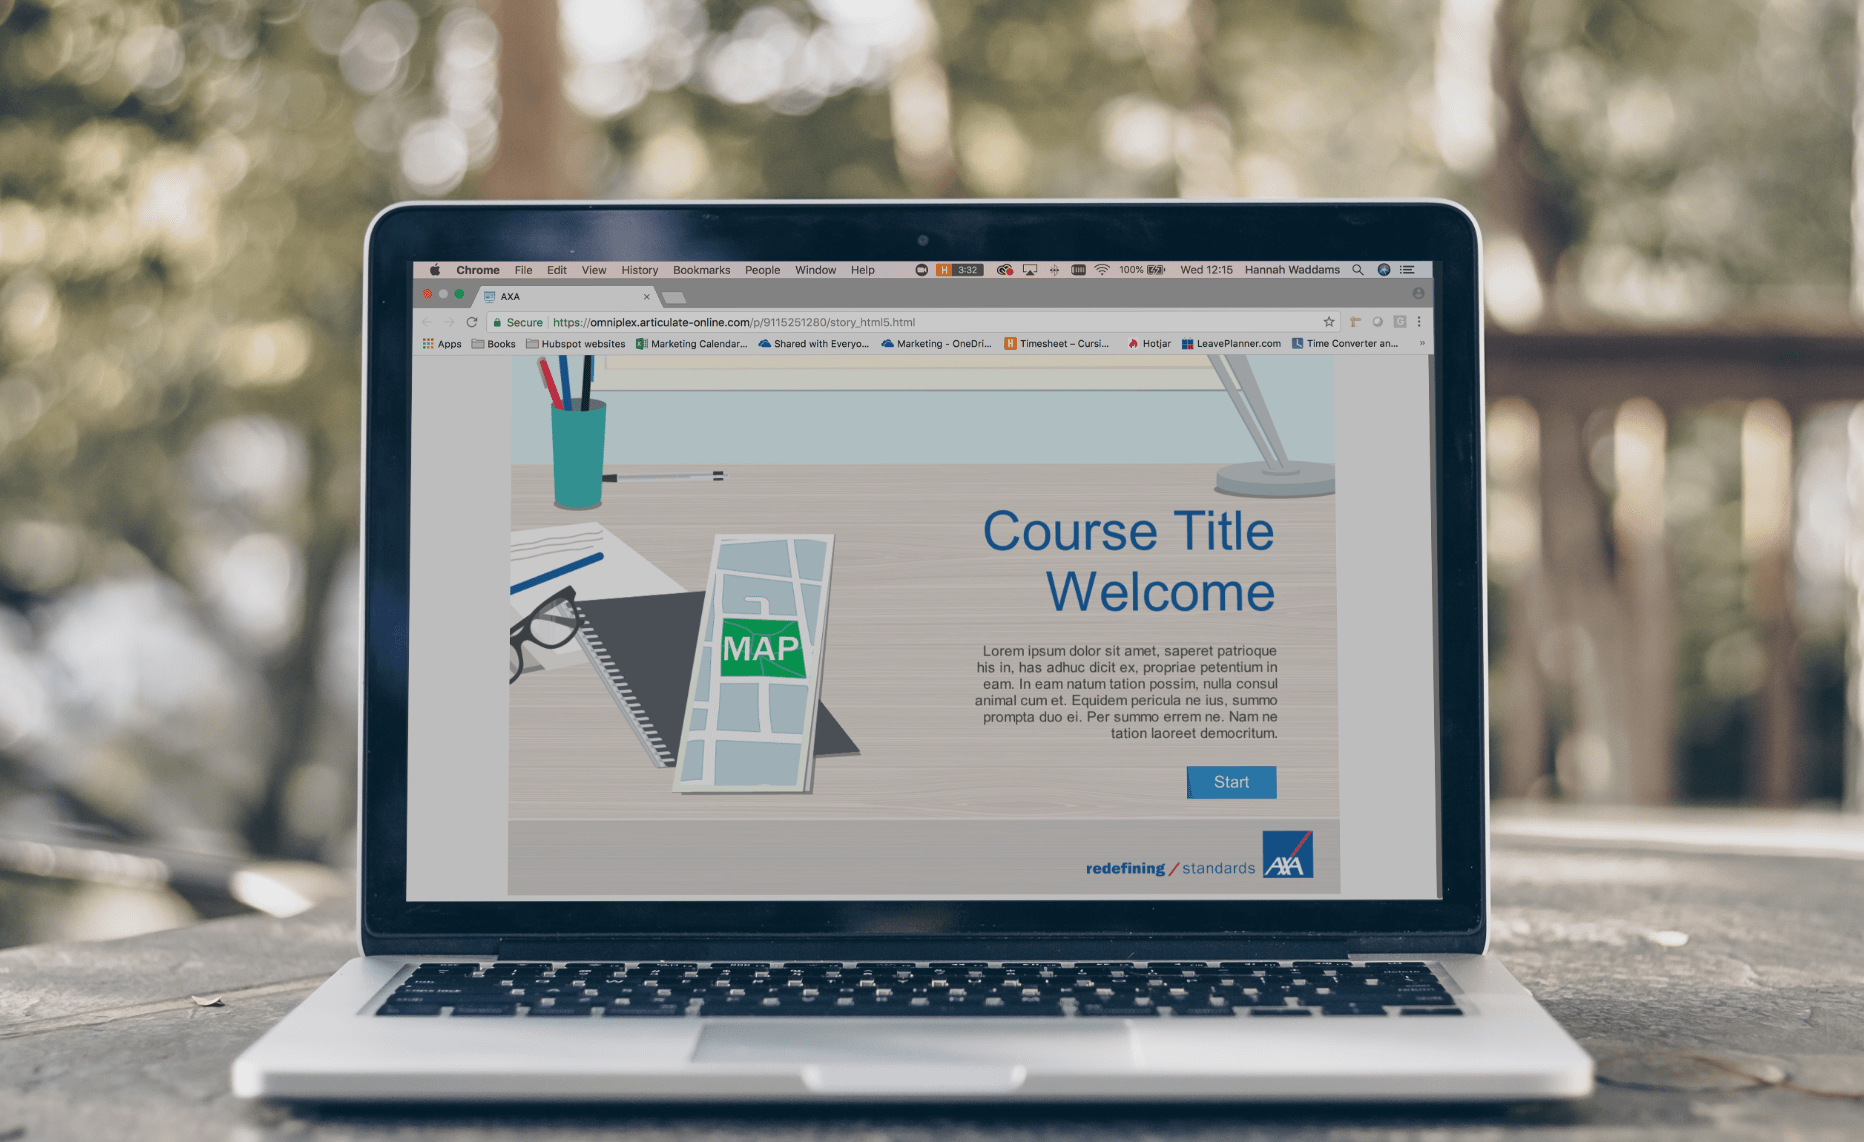
Check the text that appears in the title field and customise if required. This is the title that will appear on your website as well, so you need to ensure the description accurately matches the course title.
You also have the option to enter a description of your course – which learners using Articulate player will see.
Make sure you publish your course to a local folder. Publishing to a network drive or USB can cause issues with your published output.
Step 2: Enter Articulate Mobile Player information (optional)
If your learners will view content using the Articulate Mobile Player, you can add more information for display within the AMP.
Click on the ellipsis button (…) next to the Title field on the Publish window.
The Project Infowindow appears:
Leave the title field as is and use the image to define the correct thumbnail for this course. By default, storyline will use the first slide in your course. You can change this to show your main title slide or can select a picture from file.
Define any further information required and click on OK to accept.
Step 3: Choose HTML5 and/or Mobile Publishing requirements (optional)
You have flexibility with how you can publish your content and can tailor your publish settings to suit how your courses will be viewed.
In the Properties section, click on the Formats link.
The Publish Formats window will open
Use the slider to define your publishing options.
Tick the AMP checkbox if you want the articulate player to be used.
Click on OK to accept publish formats.
Step 4: Publish
Once all settings have been defined, you can publish your course. Articulate Storyline creates your published output in the location you specified. When publishing is complete, you’ll see furtheroptions.
Click on FTP, to begin the process of transferring your published course to your web server
The FTP content window will open.
Enter the login details for your FTP/web server.
Define the directory where your course should be stored.
Click on Send– storyline will now send all required files and folders to your designated location on your web server.
Alternatively, you can manually copy the entire contents of your course publish folder from your local drive to your web server, ensuring you select all items in the storyline output folder (all files are required for the course to work)
The course uses the file html to launch the content, and a link to this file should be provided for your learners. This html page is intelligent, and will detect the device being used to view the content, and will direct the learner to the correct display version for their device (flash or html5)
So there you have it – four simple steps to publish your Articulate Storyline course to your website.
Explore more at Omniplex Learning
Get the training you need to make great courses in Articulate 360
How to upload an Articulate Storyline course to a sharepoint