


Top tips for story boarding your instructional video
Story boarding is the process of visually representing every shot of your video, whether that’s through drawing, a computer program or even post-it notes! Every film or advert has one thing important in common: each scene is planned out before they are produced. The videos in your eLearning courses are no different.
Engaging instructional videos must be easy to follow, visually dynamic, and speak to the learners needs. To create exactly that, follow our top tips for story boarding your next instructional video:
Establish a timeline
Story boarding is all about structure. Before you put your pencil to paper and start to sketch out each frame, it’s best to figure out the sequence of events for your video. Identify the beginning, middle and end, as well as any important transitions. A short instructional video doesn’t need a complicated plot, but it does need to flow well for the learner to grasp the content.
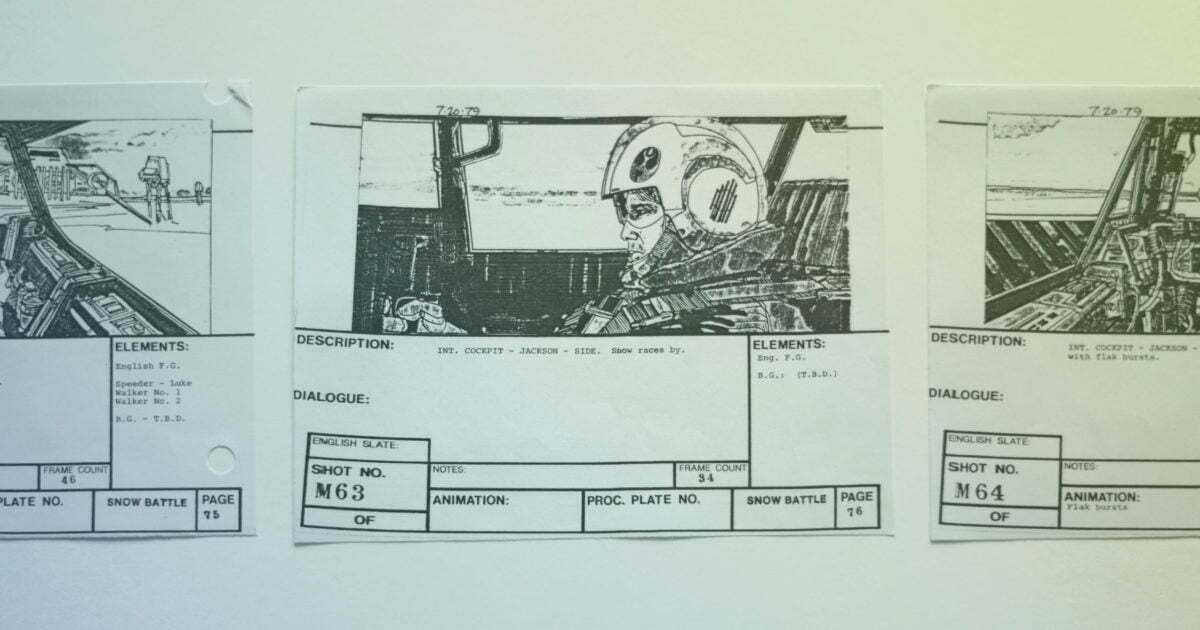
Don’t worry about your artistic ability
Your storyboard doesn’t have to look like a fine art painting, it’s okay if you only know how to draw stick figures. Just provide enough visual detail to give an impression of what is happening, what objects are in the scene and what the general framing will look like. As long as you can communicate the main action in every frame, your storyboard will be useful. To help you get started, you can download some free storyboard templates here.
If you really don’t want to draw out your storyboard, you can use a video animation tool such as Vyond or Articulate Storyline. The vast array of eLearning assets makes it easy to create rough draft storyboards to visualise almost any scenario.
Annotate each scene with detail
A storyboard is a visual tool, but you need to add in the non-visual details to get the best result.
If you’ve already created a script, write down the relevant part of it under each of your thumbnails. Add some extra notes for each thumbnail to clarify what’s going on. For instance, if you’re planning to use voice-over or have text appear on the screen in your video, you’ll want to include that information at the appropriate point in your storyboard.
Use arrows to show motion
Clarify each action. Use arrows to show which direction the object or character in your frame comes in from. You can also use arrows to show camera movement, for example, is the camera moving from left to right? Or is it going to zoom in for a close-up?
Name and number
If there are multiple versions of your storyboard, make sure you name each file with a clear title to make them readily identifiable to all. Use version control and dates to help identify when content was developed. This will be extremely useful when it comes to producing the video.
Get Feedback
This may be the most important tip of all. Make sure you get the feedback of an SME. Gather advice and revise your storyboard. Don’t start building until it has been reviewed and signed off. Remember, it is easier to rework content during the storyboard stage than it is during build!
So, there you have it, some of our top tips for story boarding your next instructional video. Think of a storyboard as your first draft. It’s a way to get your ideas down on paper and visualise them and most importantly, it helps you craft a better, cohesive instructional video.