


8 tips for building a course in Articulate Rise
I had a sudden flashback weeks ago. I remembered creating eLearning courses long before the days of the modern authoring tools. I was transported into a time (and yes it was a fair few years ago!) when as an eLearning author you had long, circuitous discussions with developers about the functionality you would like. They would listen politely, promise little and around two to three months later deliver even less. At which point, I recall re-writing courses to fit the functionality that we had actually been delivered.
Flash forward to Rise. I wondered what would “flashback-me” have made of Rise? It would have seemed the work of science fiction to see “future-me” building an eLearning course myself and then sending myself a link where I can view it on my own phone. (Of course, “flashback-me” would have been amazed by a phone that wasn’t a few inches thick but that is another story!)
So, you can see why I am slightly smitten with Rise. It is amazingly quick to pick up. However, if you are about to use Rise for the first time, here are some tips that can help.
- Explore first. Rise has pre-built lessons and then “blocks” which allow you to customise more of your content. As with any new tool, start getting a feel for the possibilities and begin thinking how it might work for your content, experimenting with different combinations and settings.
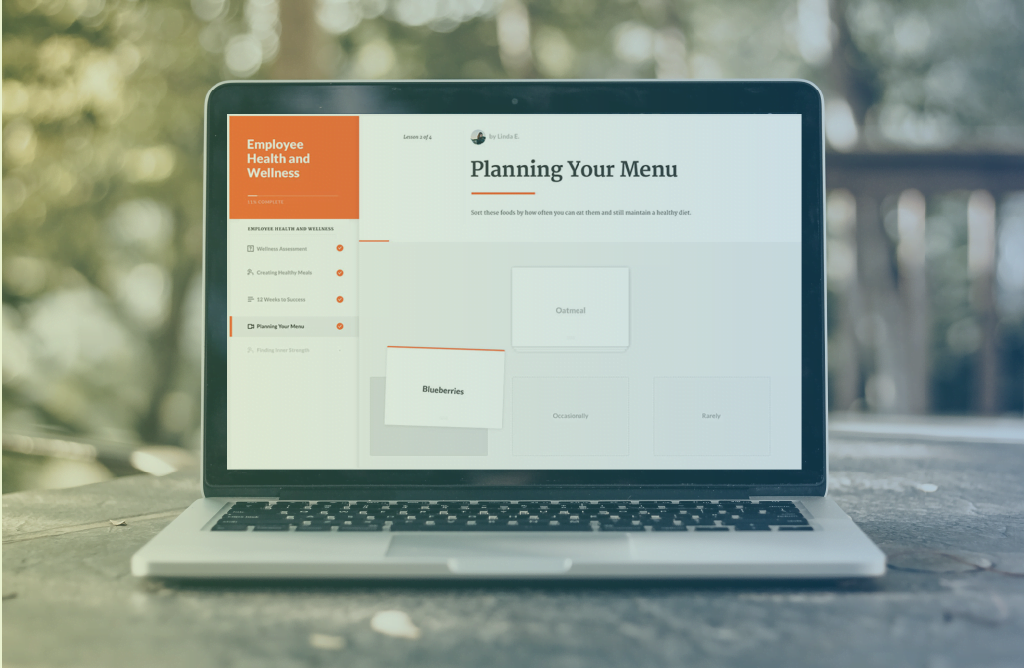
- Think creatively. Think of different purposes for some of the blocks. For example, you might want to use the flashcard interaction to get learners to think about a question and then flip to see the answer (i.e. using it as another question type).
- Re-size images. If you are using your own images (rather than from the extensive content library), a good tip is to re-size them for different layouts in the blocks. This will give your course a consistent and flowing look.
- Use other assets to bring your course alive. Making animations in PowerPoint and then saving them as videos, can create a powerful impact. You can then unpack the detail of the content using the standard blocks in Rise.
- If importing Storyline interactions, consider what will work on a mobile phone. You need to keep selectable buttons and large text. Test what will work.
- Use templates. You can save individual or combination of blocks as templates. If you have Storyline 360 team plan, you can then share these templates across a team. Create a ‘template’ course that has all your standard settings pre-applied (theme, navigation, text labels etc.) and add some blocks that work as brand and writing style guidelines. Then duplicate it as a starting point for each new course.
- Create different labels for buttons to suit the content. You can customise the button text. For example, if you are building an eGuide, you might want to change the custom text of “Start Course” to “Launch Guidance”. But be aware, if you edit the text labels in the default language settings it will change the labels in ALL your courses. So, it is recommended to create a new label set to avoid doing this.
- Keep earlier versions. Rise is Cloud-Based. For complex projects and especially ones where decisions on what makes the final cut are going back and forth, it may be worth making a copy of your course as a back-up. So, you can re-instate content easily if there is a decision to go back to an earlier version.
So, while you are off exploring the effortlessness of Rise, spare a moment for poor “flashback-me” struggling away without any conception of what the future would bring.