


Creating a digital scale in Articulate Storyline: Part 3
Animation is a great way to increase engagement in your eLearning courses. Adding a little movement to a static slide can set a more realistic scene and bring your eLearning to life. And the good news is – Articulate Storyline makes it easy!
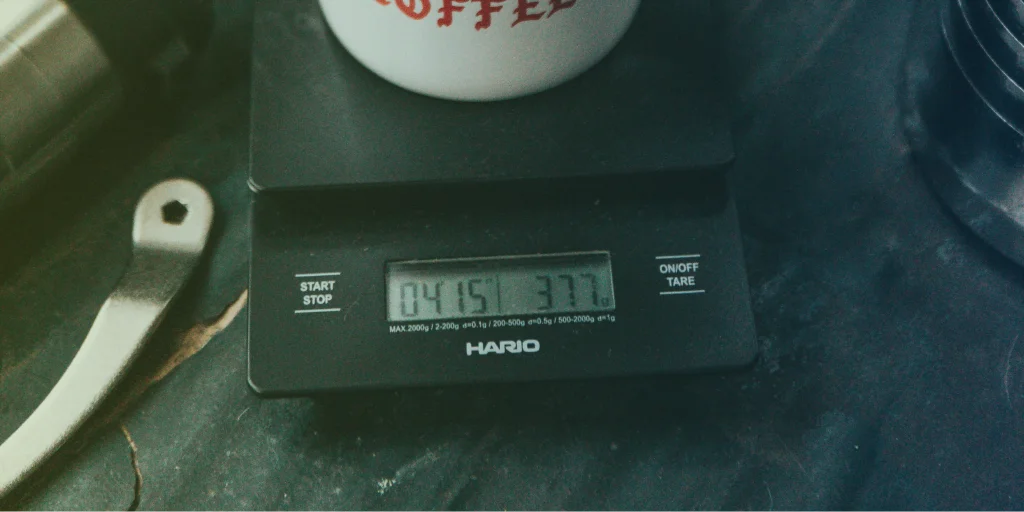
In two of my previous blogs, I’ve showed you how to create a digital scale, and then how to use this scale as part of a question slide. In this third instalment of the series, I am going to show you how to animate this scale to bring your feedback slide to life.
| — Before we start This tutorial builds on the steps we covered in part one and two, and you will need to complete all steps in the previous parts before beginning part three. — |
Step 1
In this example we want an animation when the learner selects the incorrect answer. This animation will turn the dial to the correct answer – which in our example is 2.5kg.
To do this we need to add two off-slide shapes:
- One shape for when the answer is less than 2.5kg, which we will name BT_add.
- The other shape will be for when the answer is more than 2.5kg, which we will name BT_subtract.


You might be wondering why we need these shapes, and the answer is to help Storyline differentiate if the incorrect answer is more or less than 2.5kg.
If the incorrect answer given is more than 2.5, the BT_Subtract shape will move and trigger the dial to move down to 2.5. If the incorrect answer is less than 2.5, then BT_add will trigger the dial to move up to the correct answer.
Step 2
We then need to set up an animation path for each of these shapes of 0.5s.


Step 3
Our next step is to add a condition to mark when the buttons will move. We want the:
- BT_add button to move when variable dial 2 is smaller than 2.5kg.
- BT_subtract button to move when the variable dial 2 is greater than 2.5kg.
Step 4
We now need to add a trigger to give the illusion of the dial turning to the correct answer.
If dial 2 is less than 5, we need to add a value of 1 until it reaches 5 (which is the dial marker for our correct answer of 2.5kg). You can see how I set up this trigger below:

Once the animation is complete, it will add 1 to Dial 2.
However, if your learner has selected a lower answer, for example ‘0.5kg’, you will need the dial to add more than one. To do this we loop the animation with another trigger:

Step 5
We then repeat the last step for the BT Subtract button, however we will subtract 1 when the dial is larger than 5 and stop once the dial 2 = 5. Your final triggers on the incorrect layer should look like this:

Now your incorrect layer will have a small animation showing the scale shifting to the correct answer – which will add a bit of fun to your course, versus a static answer!
Remember, if you don’t have Articulate Storyline 360, you can still create this animation, by using a slider, instead of a dial.
Articulate Training from the UK’s only certified training provider
Want to learn more about Articulate Storyline? Omniplex are the only Articulate certified training partner in the UK. To learn more about our Storyline training offering click here, or get in touch.