


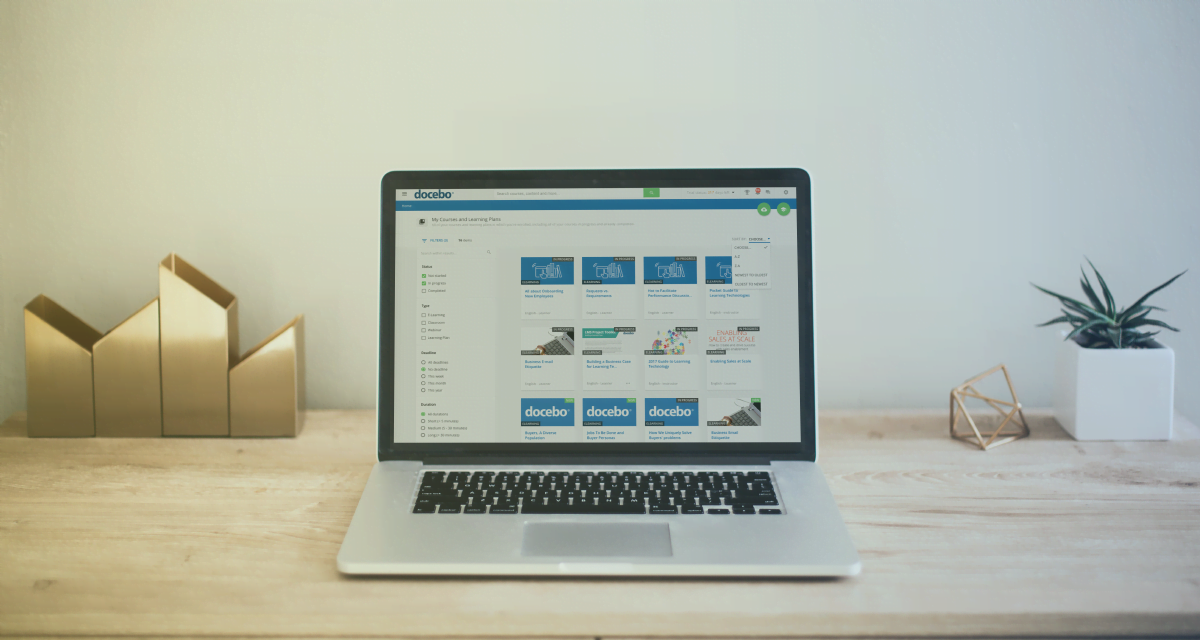
Personalise your learner experience in minutes with Docebo Pages
For a long time, learning management system (LMS) users have been calling out for a way to easily personalise their learners experience. Docebo have answered these calls, by introducing Docebo Pages in the 7.4 update of the award-winning LMS.
Docebo Pages allows you to choose exactly what your learners see on your LMS, with no coding required. You can do this by composing pages using drag-and-drop widgets and create different menus for each segment of your audience.
As a Super Admin, you can now configure pages which tailor the interface of your Docebo portal. These are made up of three types of pages:
- Built-in pages. These pages are included by default in the platform and cannot be edited or unpublished (for example, My Dashboard and Courses Catalogue). However, Super Admins can still organise them into menus to suit individual needs.
- External link pages. These pages open links from external webpages directly within your LMS platform.
- Widget pages. These pages are made up of widgets and can be completely customised by Super Admins.
External link pages
External link pages open links from external systems, for example web pages. These can be opened either directly in your LMS interface or in a browser window – depending on your settings.
To create an External Link page, you need to follow the following steps:
- Access the Admin Menu and click the ‘Manage Pages’ option from the settings section.
- Click on the ‘plus button’ in the top right-hand corner.
- In the ‘New Custom Page’ panel, click on the ‘External Link’ option. In the details section add the page name and external link URL and click ‘Create & Edit’.
Settings
After following the above steps, you will then be redirected to your page’s Settings page. You now need to decide whether you want to publish the page or not, by default all new pages are published automatically. Publishing and/or unpublishing pages means you have full control over when your learners view and access the page. If you ‘unpublish’ the page, it will not be visible in the menus it’s assigned to.
If you’re setting up an ‘External Link’ page, you also need to decide whether your new page opens as a tab in your learner’s web browser, or within your LMS as an ‘iFrame’. If you’ve flagged the option to open the page as an iFrame within the LMS, you can also determine the height of the page.
Widget pages
Widget pages are entirely customisable pages which you can either start from scratch or use one of the predefined templates. To create a widget page, you need to follow the below steps:
- Access the Admin Menu and click the ‘Manage Pages’ option from the settings section.
- Click on the ‘plus button’ in the top right-hand corner.
- In the ‘New Custom Page’ panel, click on the ‘Widget Custom Page’ option and click next.
- In the ‘Template’ tab, either select a template from the pre-built templates or select the ‘blank’ option if you’d like to design your page from scratch. Then click ‘Create & Edit’.
Settings
After following the above steps, you will then be redirected to your new page’s Settings page. As with the external link page, you now need to decide whether you want to publish the page or not – remember, by default all new pages are published automatically. However, if you ‘unpublish’ the page, it will not be visible in the menus its assigned to – meaning you can control when your learners can view and access it.
Templates for Widget Pages
There are four types of templates available for Widget Pages:
- Informal training dashboard. Includes; activity stream, courses, learning plan and ‘my calendar’.
- Formal training dashboard. Includes; catalogues, ‘my profile’, courses, learning plans and calendar widget.
- Formal training stream. Includes the ‘channels’ widget.
- Course offering dashboard. Includes; calendar, user profile, courses, learning plans and catalogue widgets.
It’s worth remembering that these templates are not locked and you can modify the positioning of widgets, their size and add new ones, to any of these pages.
Configuring Widget Pages
To learn how to configure and add rows to your widget page; including duplicating row settings, deleting a row, defining widget sizes, and moving widgets, click here.
Page preview
Whichever type of page you create, it’s always a good idea to double check how the page will look from your learner’s point of view. To preview your pages follow the steps below:
- Go to the Admin Menu and click the Manage Pages option from the settings section.
- Find the page you want to preview and click on the pen icon at the end of the page row. This will take you to the settings configuration page.
- You will then be directed to the settings configuration page, on this page you will have a Preview tab which allows you to see a live preview of your page. To make the preview more realistic, your widgets will be populated with sample data.’
To learn more about Docebo pages and the other great features in the 7.4 update of the award-winning LMS, click here.